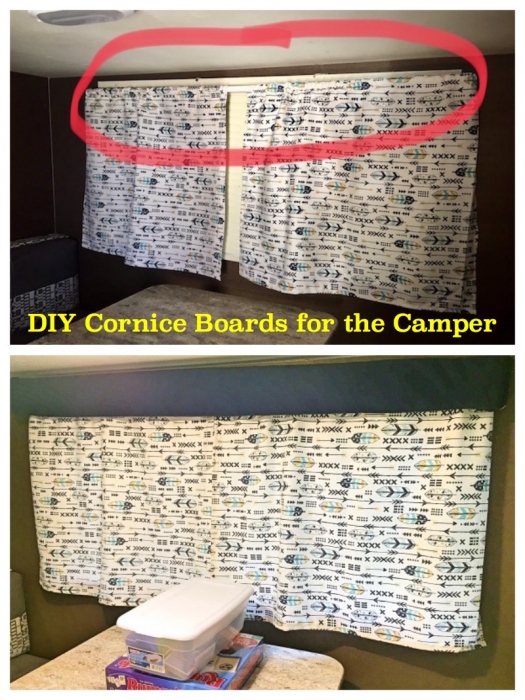
You might remember from our previous post about how I updated the stock valances in our travel trailer with these easy-peasy, almost no-sew curtains. And while I loved how the curtains turned out, one of the windows still had the curtain rod showing, which was just really bugging me.
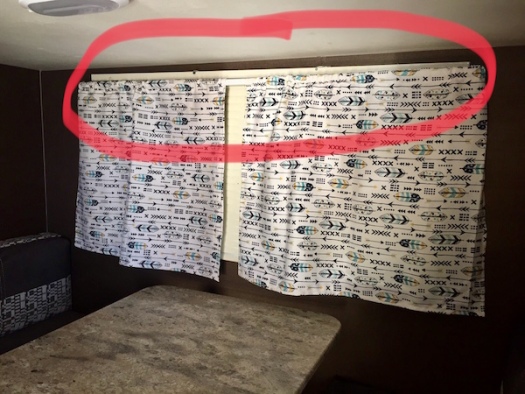
I did some research on the Internet, and came up with this super ridiculously easy way to cover up those ugly curtain rods with an inexpensive, lightweight cornice board that requires no sewing and no drilling into your camper (assuming you already have a curtain rod in place).
DIY No-Sew Cornice Board Project
Here’s what you’ll need:
Styrofoam panels (you can find these at any big home improvement store in the insulation or window aisle – mine came in a pack of four so I have lots left over for future projects!)
Fabric of your choice (choose something lightweight that’s not too hard to push a pin through)
Fabric push pins
Toothpicks
Packing tape
Serrated knife (to cut the styrofoam)
Heavy duty velcro strips
Superglue
Ok, now you’re ready to get started!
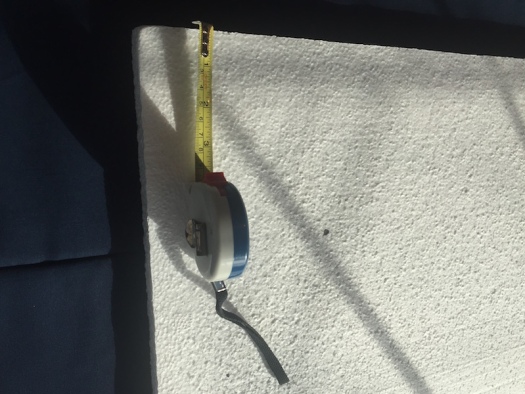
Measure the length and width of the curtain rod area you’d like to cover. I only wanted to cover up the curtain rod, so I made mine about two inches from top to bottom. Then, measure the distance you’d like the cornice board to stick out on either side (I have myself about two inches on either side).
Once you have your dimensions, get to cutting. (TIP: cutting styrofoam makes a HUGE mess, so spread out some newspaper or something else to help you easily clean up at the end).
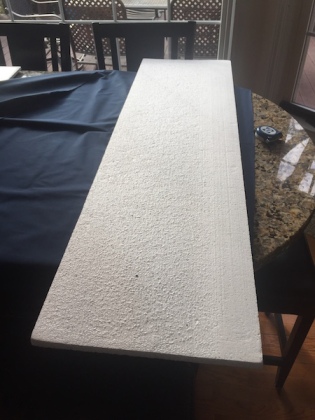
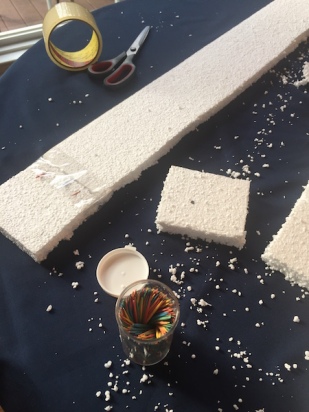
Cut your styrofoam panels the length and width of the cornice board. Then cut two smaller pieces for either side.
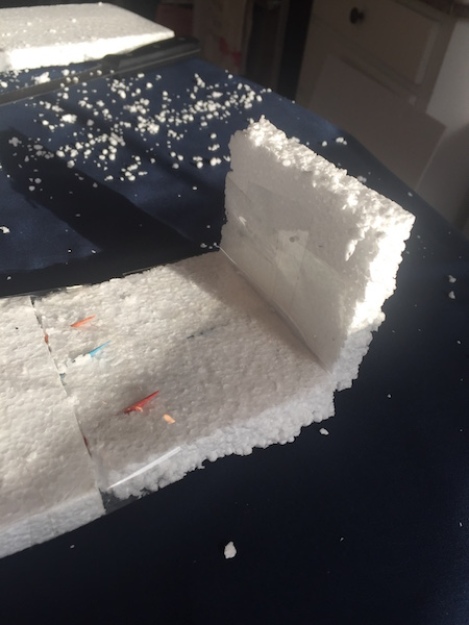
To attach the smaller pieces to the long piece, take toothpicks and secure them through the styrofoam to create a 90-degree angle on either side. Secure the angles with heavy duty packing tape. It won’t look pretty but you’re going to cover this all up with fabric so it won’t matter.
Once you have your styrofoam pieces cut, move on to your fabric. Place your styrofoam in the center of the fabric, and then cut your fabric to side. **You’re going to end up wrapping the styrofoam in the fabric, like a present, so make sure you leave enough around all sides to give you a nice, tight wrap. You can always cut it down later if you have too much fabric.
With the fabric cut, now you’re ready to start wrapping. You want to make the fabric as tight as you can around the entire styrofoam structure. Fold the fabric over the back of the styrofoam and secure with push pins. Use as many pins as you need to make it as tight as possible – this will make your finished cornice board look smooth and finished when you flip it back over.
With the corner angles, take special care to fold the fabric in and use a lot of pins to avoid any wrinkles or creases on the other side.
Continue this process until all of the styrofoam is covered.
When that’s finished, use superglue to adhere one side of the heavy duty velcro strips to the fabric side of your cornice board you’re going to hang. Attach the second velcro strip and then peel off the backing (that’s going to face the wall). Position the cornice board just outside of either side of the curtain rod bracket. And voila! You have a lightweight, inexpensive cornice board.
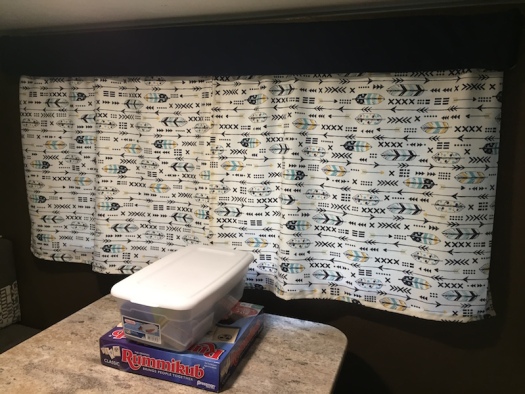
I hope this helps you! I’m really happy with how the finished product turned out. Now, what to do about those brown cabinets……….
Happy glamping! Until next time!