Why do all travel trailers seem to come with the most hideous curtains? It seems like this would’ve been an area of decor improvement over the years, but alas, it seems the factory interior decor of most travel trailers is stuck in the 1970s.
I wanted to update our curtains and make the camper interior feel a little more “21st century,” but I didn’t want to spend a lot of money on the project. Pinterest, to the rescue! Just type in “travel trailer curtains” or “RV curtains” and you’ll find all kinds of DIY curtain blog posts to help inspire you.
I read through a few different sites, and was able to come up with my own variation of DIY ‘almost’ no-sew travel trailer curtains. (I’ll explain the ‘almost’ at the end of this post – you very well might be able to get away without sewing these curtains at all).
Here’s what you’ll need to make DIY No-Sew Travel Trailer Curtains
- Window measurements
- Scissors
- Fabric of your choice
- No-Sew Heat ‘n Bond 7/8″-width adhesive tape (the strongest you can find)
- Fabric pins
- Iron
We had four sets of windows I wanted to update. I started by measuring the length and width of each window area, making sure to also measure the depth on either side of the curtain. (My curtain rods curved around on either side, so I need to make sure I had enough fabric to handle the curve).
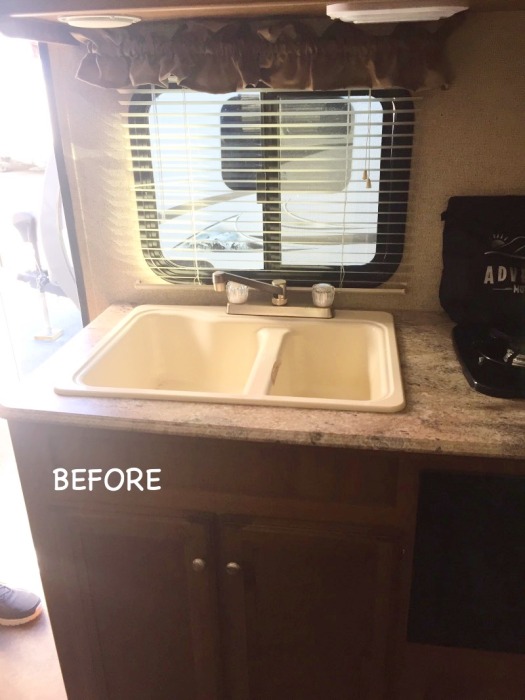
Luckily, since our camper already had some (hideous) valances installed, we already had the hanging hardware in place. I planned to just keep the same brackets and re-use the curtain rods we already had, to avoid having to drill more holes into the camper.
Once you have your measurements, you’re ready to start fabric shopping! I hit up Hobby Lobby, and the nice lady working there directed me towards the duck canvas fabric, a thicker, sturdier fabric that would stand up better in curtain form, and would also cut down on the need to line the fabric. (If you want to line a fabric with black-out lining or something similar, keep that in mind when you’re measuring out your fabric yards).
I made sure to give myself a little extra fabric to work with, in case of “oops” factors. Plus, make sure to add on 5 inches to the length, and an inch on either side of your fabric panels to accommodate the hems and curtain rod pocket).
And while this may seem obvious, don’t forget that when you’re measuring the total window size, you’ll want to divide that number by 2 so you’ll have enough fabric for two panels per window. Make sure to build in enough room to give you 1-inch hems on either side of BOTH panels.
You’ll also need to purchase No-Sew Heat ‘n Bond 7/8″ width tape – the most heavy duty you can find, and fabric pins, if you don’t have those on hand already.
Once you have your fabric and supplies home, you’re ready to get started!
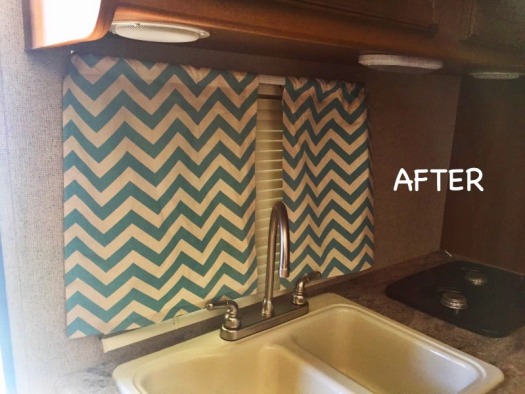
I chose a teal chevron pattern for the bed and kitchen windows, and a complementary pattern for our dinette window. When cutting your fabric, if you’re going to have two panels next to each other, take care to line up the pattern as best you can BEFORE you cut so you can make the pattern meet in the middle when the curtains are closed. (Shout out to the nice lady at Hobby Lobby for that tip!).
What’s that old adage, measure twice, cut once?? The saying definitely applies here. It’s better to re-measure everything twice before you start cutting up your fabric yards, to ensure accuracy and cut down on those “oops” factors.
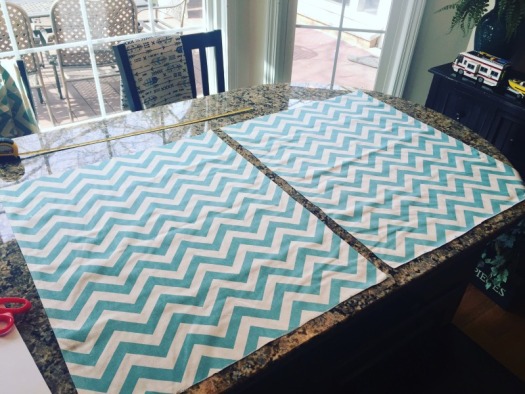
Since I wanted my camper curtain panels to meet up in the middle, I laid out my full yard of fabric on my kitchen island and found the center of the pattern. Luckily, there was a natural crease there from where the fabric was folded. I measured each panel moving outward from the center, making sure to add an extra inch on either side to accommodate the 1-inch hem to come.
Then, I added five extra inches to the length to cover the top and bottom 1-inch hems, and a 3-inch curtain rod pocket. I used a straight edge (an old piece of foam board I had at home), and marked my fabric with white chalk so I could make sure I was cutting the lines straight.
You should now have two curtain panels side by side, with the pattern matching up at the center.
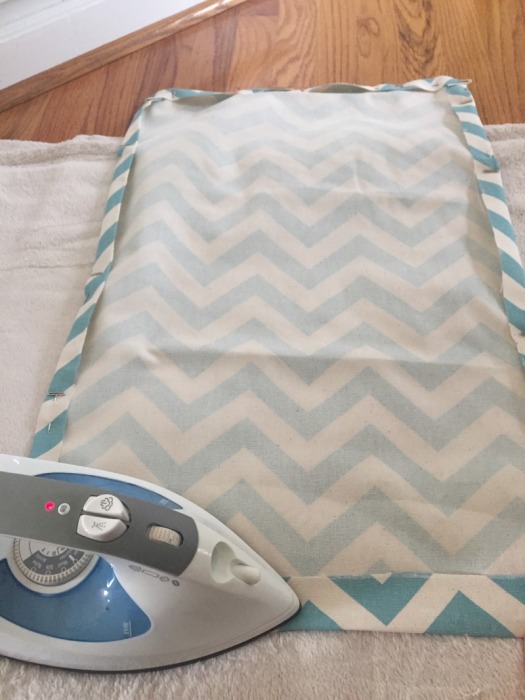
Next, heat up your iron and set it to a high heat, no steam setting. Measure a 1-inch hem along one side of one panel, and secure it with fabric pins. Continue to measure out a 1-inch hem along the second side, and then the bottom of the curtain panel.
Then, go ahead and pin a 1-inch hem along the top of the panel as well. We’ll finish the curtain rod pocket at the end, but you can save time by pinning your 1-inch hems all the way around the curtain panel.
Once you’ve got your 1-inch hems pinned, start with one side of your curtain panel, and iron the hem with the pins in place. This will give it a nice crease. Next, remove your pins, and follow the No-Sew Heat ‘n Bond tape instructions. I cut a piece of tape the length of my side hem, placed the paper side up, and then folded my fabric hem over the top of the tape.
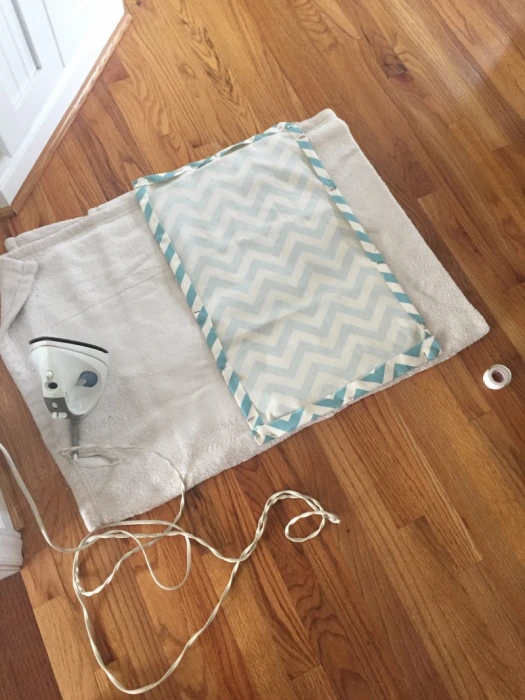
Hold your iron over the hem and tape for about 2 seconds in each area. Then fold back your fabric hem, remove the paper layer, replace the fabric hem and re-iron the entire length of the panel. This will adhere the glue to your fabric and create the clean hem you’re looking for. (If you’re using a thick fabric like I was, you might have to hold the iron down longer than directed, or double up on the bonding tape to ensure a tight seal).
Repeat the process on the second side, and then the bottom and top hems. Now, you should have all four sides hemmed with a 1-inch hem. Continue the entire process again for the second curtain panel.
Once you have your hems in place, turn the panels back over so the back is facing up. Fold the fabric over to measure 3 inches, creating a curtain rod pocket. Pin the fabric in place at the 3-inch mark, and then seal to the back of the panel with the adhesive no-sew tape.
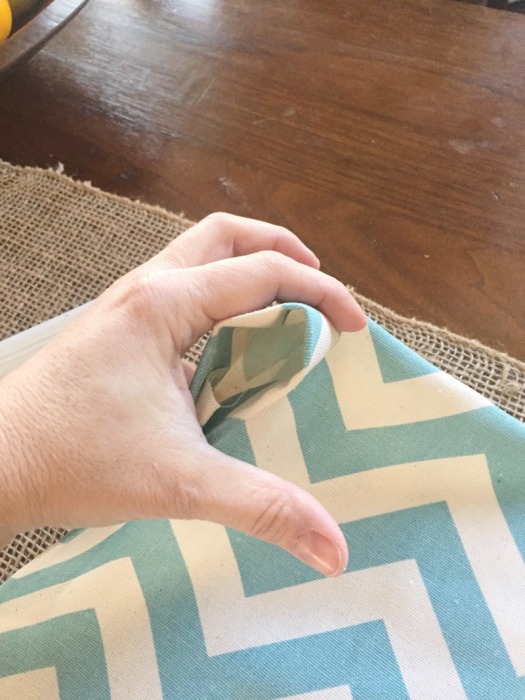
****This is where the ‘almost’ no-sew comes in. Because I was using such thick canvas fabric, I couldn’t get the fabric to adhere to form my curtain rod pocket. I think it’s because I’d already created the 1-inch hem on the top, and the glue couldn’t get through all that fabric to create a good seal. I ended up asking my mom to help me run a straight stitch with her sewing machine across that 3-inch mark to create my curtain rod pocket.****
You might have better luck getting the no-sew tape to bond if you’re using a more lightweight fabric.
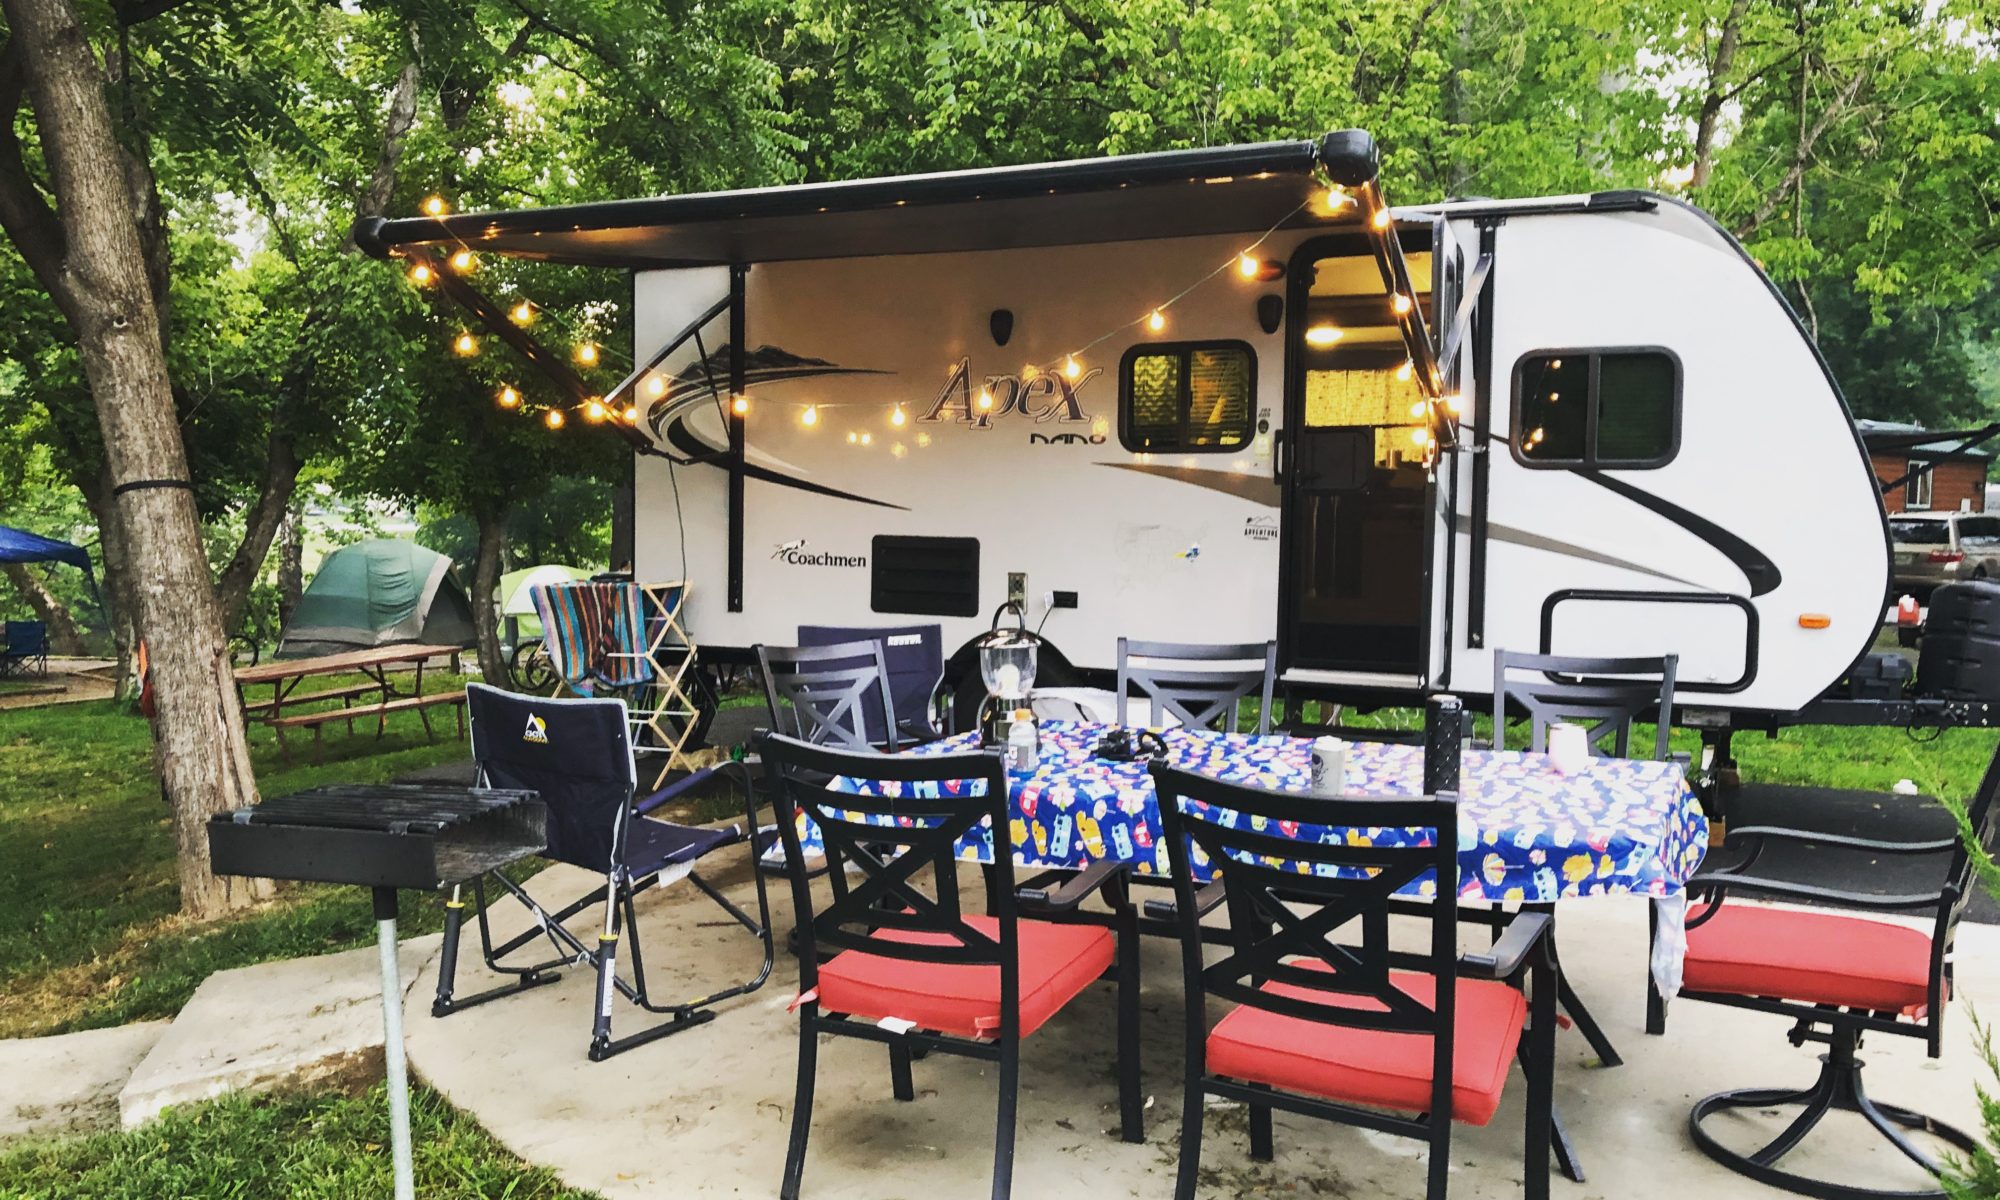
Once I had all the glue in place, I re-inserted the curtain rods, and then hung them back up in the camper! What do you think? I definitely think it brightens up the place. Since our camper is in winter storage right now, the lighting isn’t great. I’ll add more pictures this spring once we get her back out in the open.
Next up project: creating a DIY foam core board cornice board to add to the top of each window!
I hope you enjoyed my adventures in making curtains for our camper! Have you tried making any curtains for your RV, travel trailer or camper? Let me know what other tricks you’ve learned along the way! Happy travels!
Nice “After”! I guess I will make curtains for our caravan soon (in spring – when it finally comes here in Latvia – about April!)! I also like the new tap in “after” picture!!
Thank you, Ilze! You’ll have to share some pictures after you make your curtains! I’m not very crafty so if I can do it, I would say anyone can. Thanks for stopping by!
I might start with living room curtains, cause don’t have them at all. Our closest neighbour is one km away, so no need for curtains 🙂